Toyota Rav4 2017 Headlight Bulb Blown Out Again
Toyota RAV4 Headlight Bulbs Replacement Guide
How to modify a low beam, loftier beam, turn indicate or side marker light bulb in a quaternary generation 2013 to 2016 Toyota RAV4.
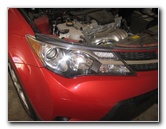
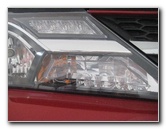
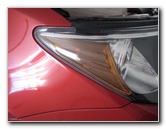
2013 RAV4 Headlight

Depression - High - Turn Signal
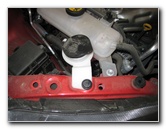
Passenger Side - Washer Bottle
Owners of other Toyota, Lexus or Scion vehicles such equally the Yaris, Matrix, Prius, Camry, Corolla, Sienna, Tacoma, Tundra, FJ Cruiser, Venza, Highlander, Avalon, Sequoia, Land Cruiser, IS 250, ES 350, GS 350, tC, xB, xD, iQ and FR-Due south may also find these DIY instructions to exist helpful.
The replacement low-cal bulb part numbers are as follows: Low Beam # 9005, High Beam # 9005, Front Turn Signal # 7444NA and Forepart Side Marker # 2825, W5W or 168.
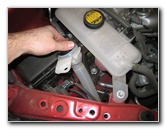
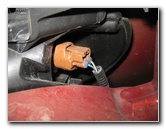
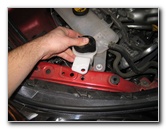
To replace the bulbs on the rider side, you'll need a flat head screwdriver to remove the washer fluid hose.
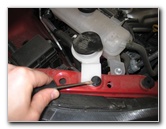
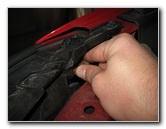
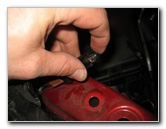
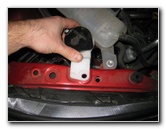
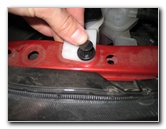
Pry Out Acme of Fastener
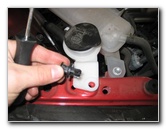
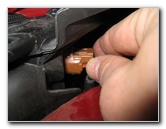
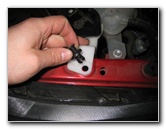
Remove Plastic Pop Rivet
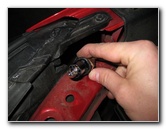
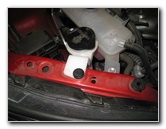
Move Back Washer Fluid Hose
Replacing the depression beam or high axle seedling on the passenger side is much easier if you lot disconnect the windshield washer fluid filler hose.
Pry up the center of the black plastic fastener with a flathead screwdriver. And so pull out the entire pop rivet and set it bated in a prophylactic place.
Motility the windshield washer fluid filler tube away from the headlight assembly.
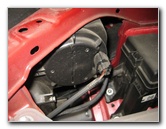
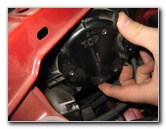
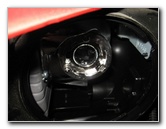
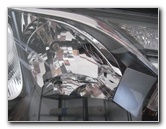
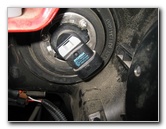
Low Axle Bulb Housing
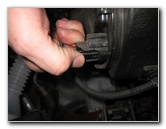
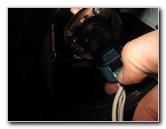
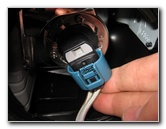
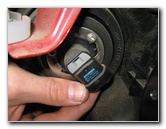
Printing Release Tab
Disconnect Power Plug
Press the release tab on the black plastic electrical connector before sliding it straight off.
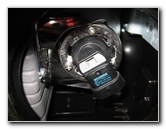
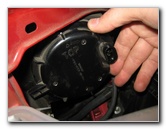
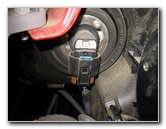
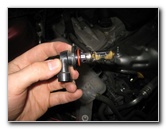
Rotate Counterclockwise
Remove Grit Cover
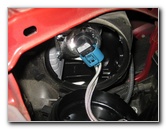
Base of operations of Old Low Beam Seedling
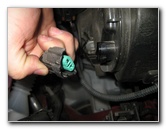
The wires will keep it attached to the power plug on the base of operations of the old bulb.
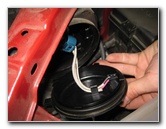
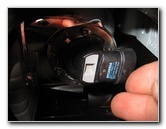
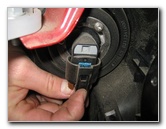
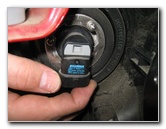
Blue Plastic Connector
Pull Back Retaining Prune

Pull Off Power Plug
Power Plug Disconnected
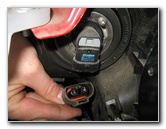
i/4 Plow Counterclockwise
Remove Old Low Beam Bulb
Low Beam Bulb Socket
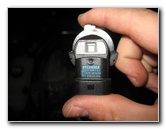
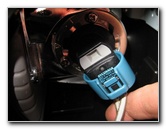
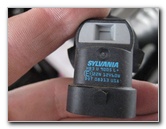
Sylvania 9005 12V 60W
Insert New # 9005 Bulb
If y'all exercise get the new seedling dirty, wipe information technology clean with an booze moistened paper towel.
Insert a new # 9005 low axle bulb in to the housing.
1/4 Plow Clockwise - Lock
Push On Ability Plug
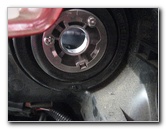
Dust Cap - 1/4 Turn Clockwise
Push the blue plastic ability plug directly on to the base of the new bulb until information technology clicks securely in to place.
Replace the round blackness plastic dust cover and rotate it i/four turn clockwise to secure it in place.
Plastic Dust Cover Secured
Push On Electrical Connector
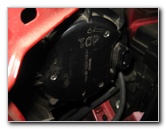
High Beam - Middle
The High Axle bulb is located well-nigh the heart of the headlight assembly.
Base of High Beam Seedling
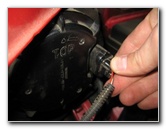
Printing Release Tab
Slide Off Power Plug
1/iv Turn Counterclockwise
Remove Old High Beam
Sylvania 9005 - 12V 60W
(Tip - The high axle seedling is as well part number 9005. And then if you have a burnt out depression beam bulb, you can swap it with the high beam and avoid being pulled over and/or getting a ticket for having a burnt out headlight.)
Empty Bulb Socket
Insert New 9005 Bulb
i/four Plow Clockwise - Lock

Push On Electrical Connector
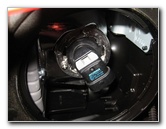
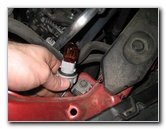
Plow Signal - Inner Corner
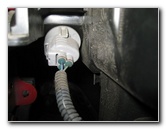
Turn Point Bulb Socket
The Front Turn Indicate light seedling is located at the lesser inner corner of the headlight assembly.
Reach in behind the headlight associates and rotate the grey plastic bulb socket ane/iv plow counterclockwise before pulling it straight out of the housing.
one/4 Turn Counterclockwise
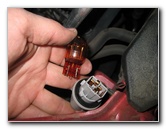
Pull Out One-time Light Seedling
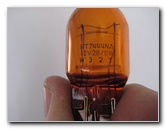
7444NA Turn Bespeak
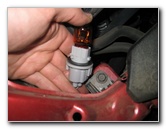
Push In Turn Signal Bulb
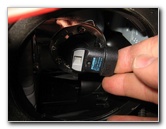
Side Marker - Outer Corner
Side Marker Bulb Socket
The Front Side Marker light bulb socket is located at the outer edge of the housing.
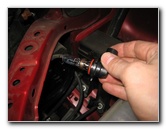
1/4 Turn Counterclockwise
Bulb Socket Removed
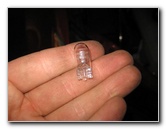
Old # W5W Bulb
Pull the old bulb straight out of the socket and push in a new # 2825 or W5W bulb.
If necessary, you may besides be able to use any other miniature wedge base of operations bulbs such as the # 168, 158, 194 or a compatible LED unit.
Push button In New W5W or 168
1/4 Plow Clockwise - Lock
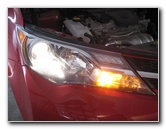
Test Low Beam & Betoken
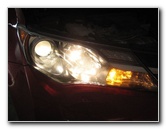
Testing High Beam Headlight
Supercede Filler Tube
Line Up Fastener Hole
If you lot removed the windshield washer filler hose, push information technology back in to identify.
Re-Insert Pop Rivet
Button In Center of Fastener
Filler Hose Replaced
For more than, check out my other 2013-2016 Toyota RAV4 DIY Repair & Maintenance Guides.
Source: https://paulstravelpictures.com/2013-2016-Toyota-RAV4-Headlight-Bulbs-Replacement-Guide/
Post a Comment for "Toyota Rav4 2017 Headlight Bulb Blown Out Again"